Your garage door opener works every single day. Most homeowners don’t think about it much until it stops working. Then suddenly you’re stuck in the driveway, late for work, pressing the remote button over and over hoping something changes.
A lot of opener problems have simple fixes. This guide walks through the most common issues, what causes them, and how to troubleshoot each one. Some fixes you can handle yourself. Others are a sign that the problem runs deeper.
Know What You're Working With
Before you start poking around, it helps to know the basic parts of a garage door opener system.
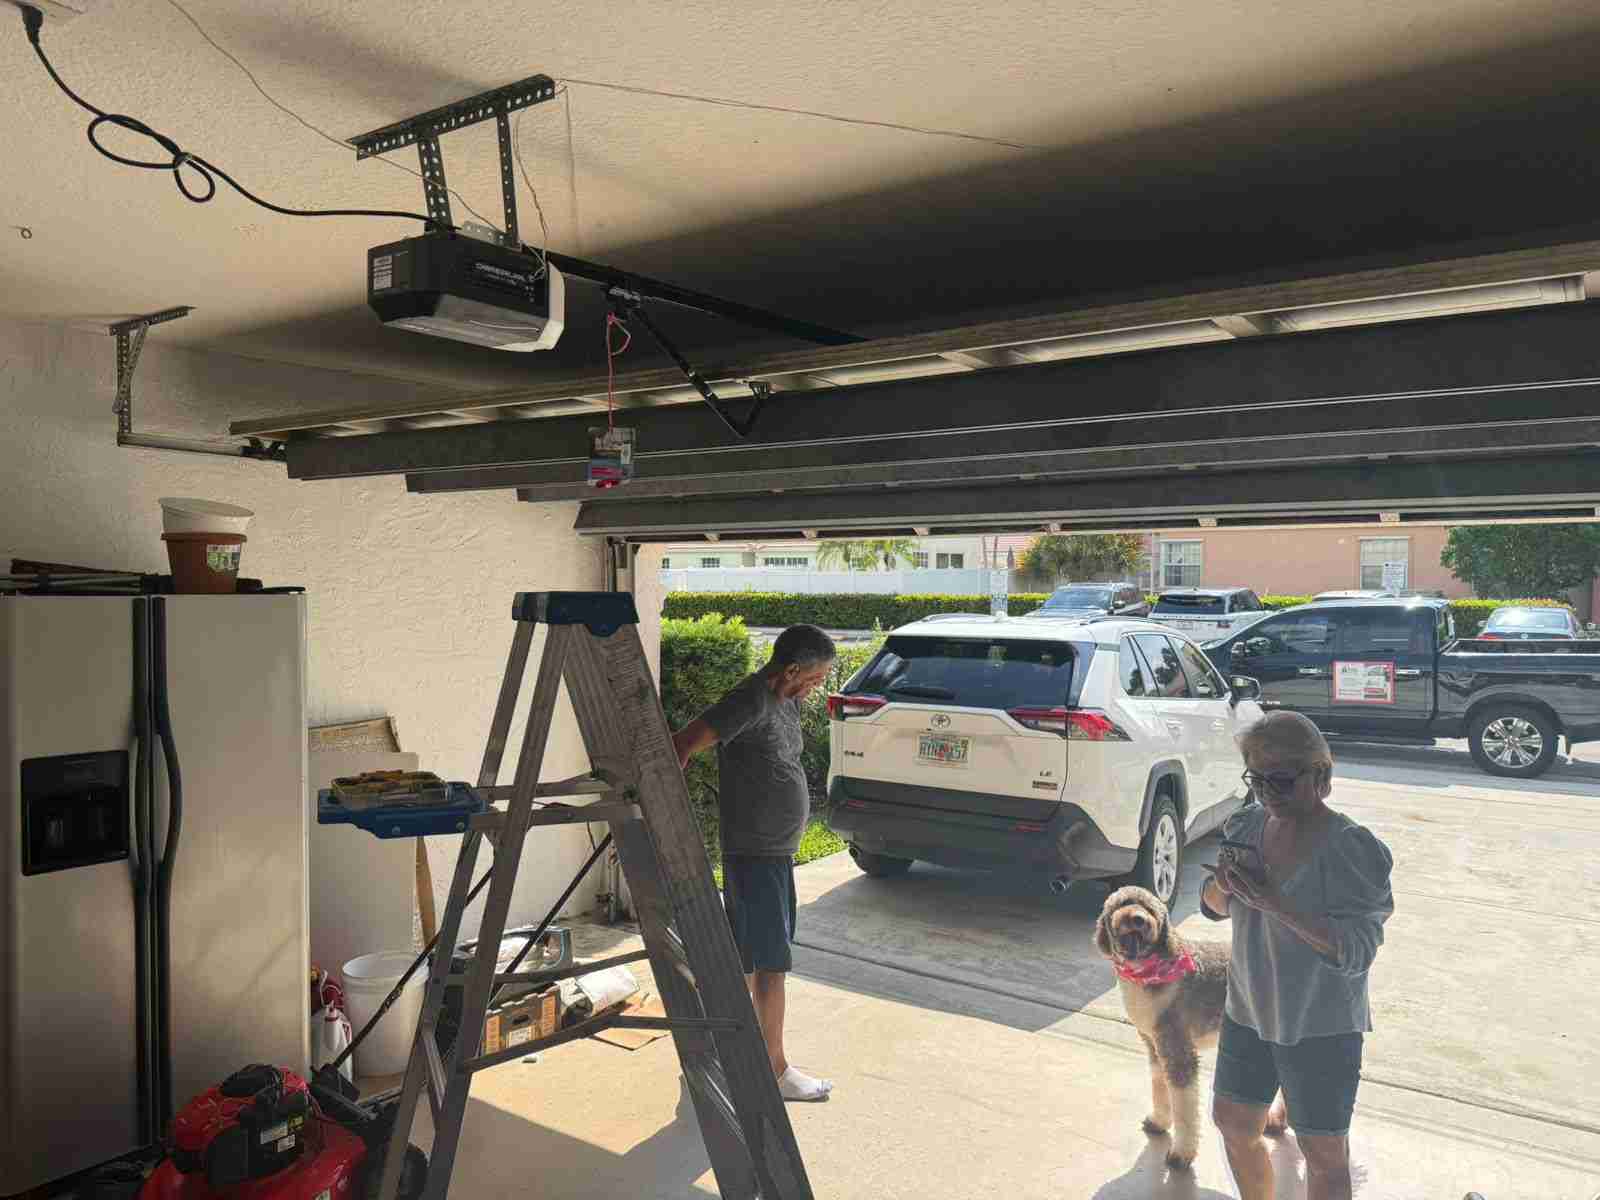
- Motor unit: mounted on the ceiling, this is what powers the whole thing
- Drive mechanism: either a chain, belt, or threaded rod that moves the door carriage along the rail
- Trolley and rail: the carriage slides along this track and physically pulls or pushes the door
- Safety sensors: two small units near the floor on either side of the door opening
- Remote control and wall button: these send signals to the motor unit to open or close
- Limit switches: small settings that tell the motor when to stop going up or down
- Power source: the outlet the unit is plugged into, plus any backup battery
Most opener problems come back to one of these parts. Knowing which one saves a lot of time.
Step 1: Check the Power First
It sounds obvious but it gets missed all the time. Before anything else, make sure the opener actually has power.
- Is it plugged in? Check the outlet directly. The plug can work loose over time.
- Has a circuit breaker tripped? Go to your electrical panel and look.
- Is there a safety outlet nearby that has tripped? These are the outlets with small reset buttons on them, usually found near water sources. Press the reset button if it’s popped out.
- Some openers have a small fuse inside the motor housing. Check your manual to see if yours does.
If the motor unit light doesn’t come on at all, power is usually the first thing to rule out. It takes two minutes to check and costs nothing.
Step 2: Test the Remote and Wall Button Separately
If the opener has power but won’t respond, the next thing is to figure out whether the problem is the remote or the opener itself.
Test the wall button first. Press it and see if the door moves. If it does, the opener is working fine and the remote is the issue. If neither the wall button nor the remote does anything, the problem is in the opener or the sensors.
For the remote:
- Replace the batteries. This solves the problem more often than you’d expect.
- Check that you’re within range. Most remotes work up to about 50 feet, though thick walls and interference can cut that down.
- Try reprogramming the remote. Your opener’s manual has the steps, or you can search the model number online.
- Take a look at the battery contacts inside the remote. If they look dull, green, or crusty, clean them with a dry cloth.
For the wall button:
- Check the wires at the back of the button. A loose or broken wire is a very common cause of wall button failure.
- If you want to test it quickly, disconnect the two wires from the button and briefly touch them together. If the opener activates, the button itself is the problem and needs replacing. The wires are low-voltage so this is safe to try.
If neither the remote nor the wall button gets any reaction at all, move on to the next step.
Step 3: Inspect the Safety Sensors
Safety sensors are behind a lot of garage door opener problems. These are the two small units sitting close to the floor, one on each side of the door opening. They shoot an invisible beam across the gap. If anything cuts across that beam, the door won’t close.
Here’s how to check them:
Look at the indicator lights: Each sensor has a small light on it. One should be solid green and one solid amber or green. If either light is off or blinking, the sensors are either out of line or something is in the way.
Check for anything blocking the beam: Spiderwebs, leaves, a piece of cardboard, or even a garden hose left in the wrong spot can do it. Clean the front of each sensor gently with a dry cloth.
Adjust the alignment: Sensors can get knocked out of position, especially if something bumps into them. Loosen the small nut or bracket holding the sensor, nudge it carefully until the light goes solid again, then tighten it back up.
Check the wires: Follow the thin wires from each sensor up to the motor unit on the ceiling. Look for any spots where the wire is cut, pinched, or has pulled loose from a connection.
Sensor problems account for a large share of “my door won’t close” calls. If you want to know what else to check on a regular basis, the garage door inspection checklist on this site covers sensors along with other key parts of the system.
Step 4: Check the Travel Limits
If your door opens but won’t close, or closes but doesn’t open all the way, the travel limits are likely the issue. These are settings on the motor unit that tell it how far to move the door in each direction before stopping.
Most openers have two small adjustment screws or dials on the motor unit, usually labeled “Up” and “Down” or “Open” and “Close.” You can turn them with a flathead screwdriver.
- Door won’t open all the way: Turn the “Up” screw a small amount, maybe a quarter turn, and test again.
- Door won’t close all the way: Turn the “Down” screw a small amount and test.
- Door touches the floor then bounces back up: The down limit is set a touch too far. Back it off slightly. Also check that nothing is sitting under the door.
- Door opens but then starts coming back down right away: The up limit may be set too high. The carriage is hitting the end of the rail, which triggers the motor to reverse.
Make small adjustments. One quarter turn at a time. Too much change in either direction can put extra stress on the motor or cause the door to bang against the floor.
Step 5: Listen and Look at the Motor Unit
If you press the button and nothing happens at all, not even a small click or light change, the motor unit or its internal circuit board may have failed.
If you press the button and hear a humming sound but the door doesn’t move, the motor is trying to run but something is stopping it. This usually means a gear inside the unit has worn out or broken. It’s one of the more common mechanical failures in older openers.
If you hear a clicking sound but no movement, check the drive chain or belt running along the rail. If it’s hanging loose or sagging a lot, it may be slipping rather than turning the carriage.
Signs the motor unit needs attention:
- Grinding or rattling sounds while the door moves
- Door moves much more slowly than usual
- Motor unit feels very hot after use
- Door stops part way through opening or closing for no clear reason
A sagging chain can often be tightened using an adjustment nut on the carriage rail. A worn internal gear can be replaced on many models if you’re handy with basic tools. However, if the unit’s internal circuit board has failed, that’s a job for a technician. Replacing the board on the wrong model can cause more problems, and sourcing the right part takes some know-how.
Step 6: Test the Manual Release
Every opener has a manual release, usually a red cord hanging down from the carriage on the rail. Pulling it disconnects the door from the opener so you can lift it by hand.
Pull the cord and try lifting the door manually. What happens tells you a lot:
- Door lifts easily and stays up on its own: the door itself is fine. The problem is in the opener.
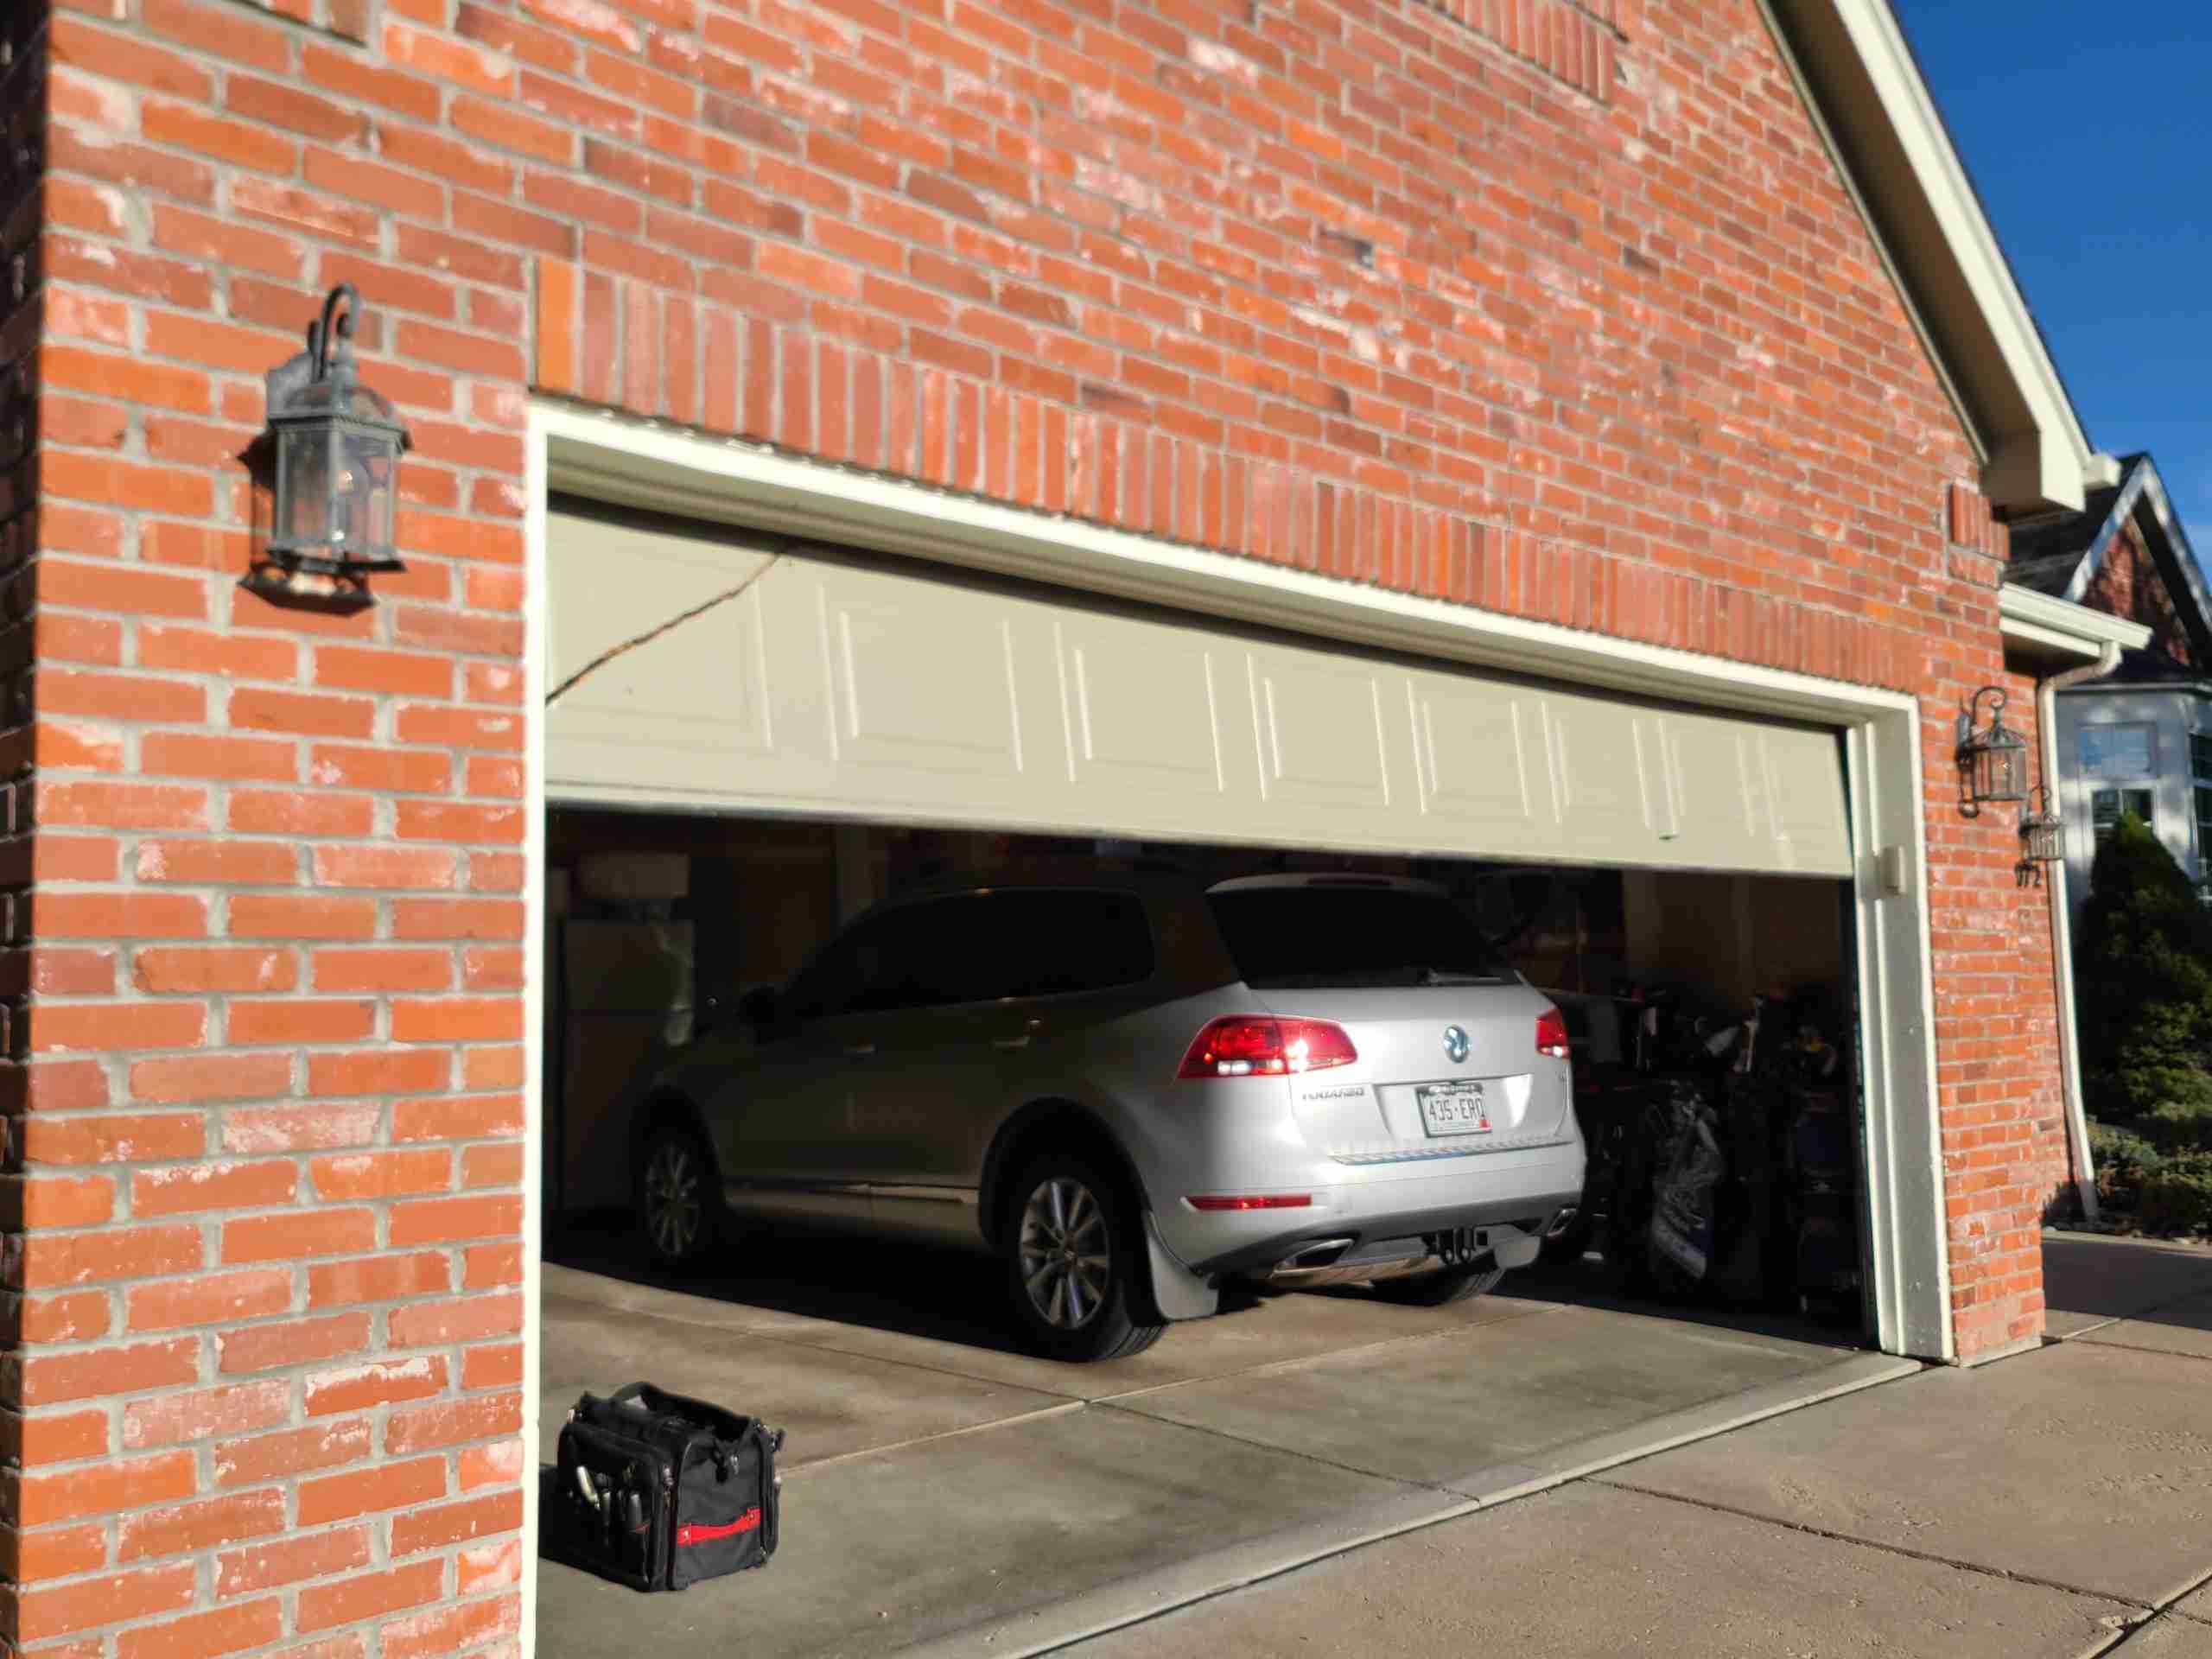
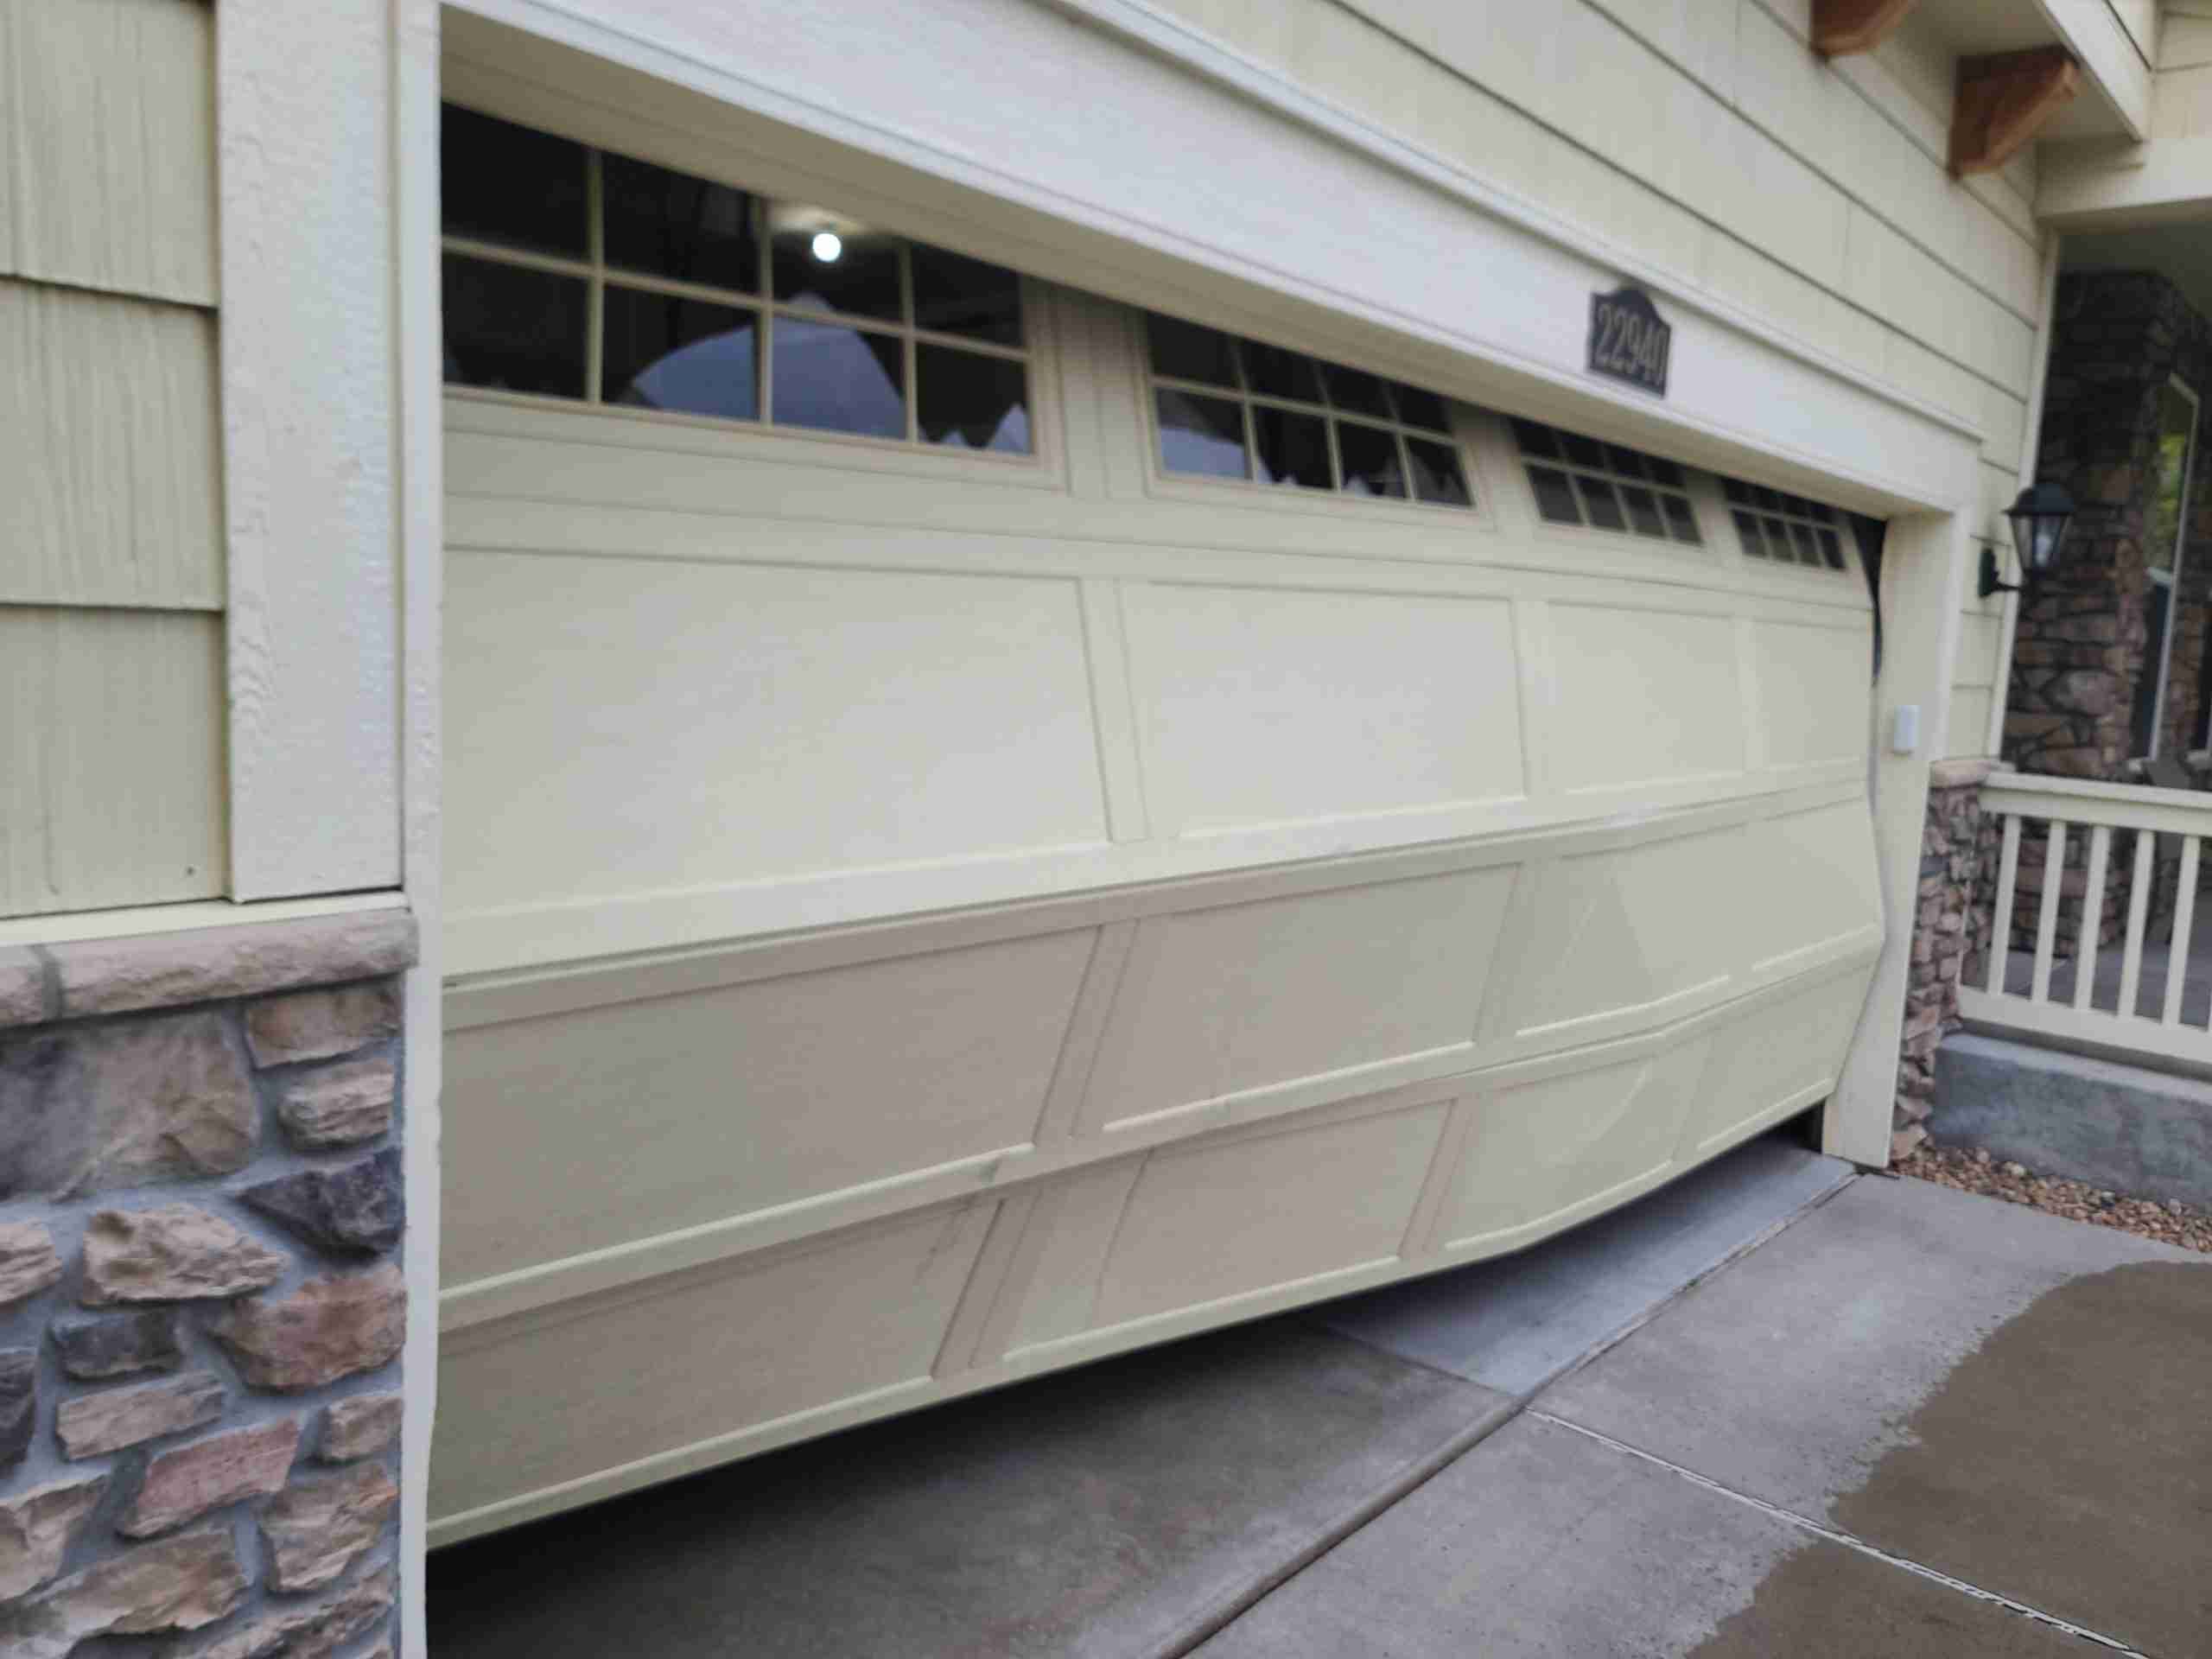
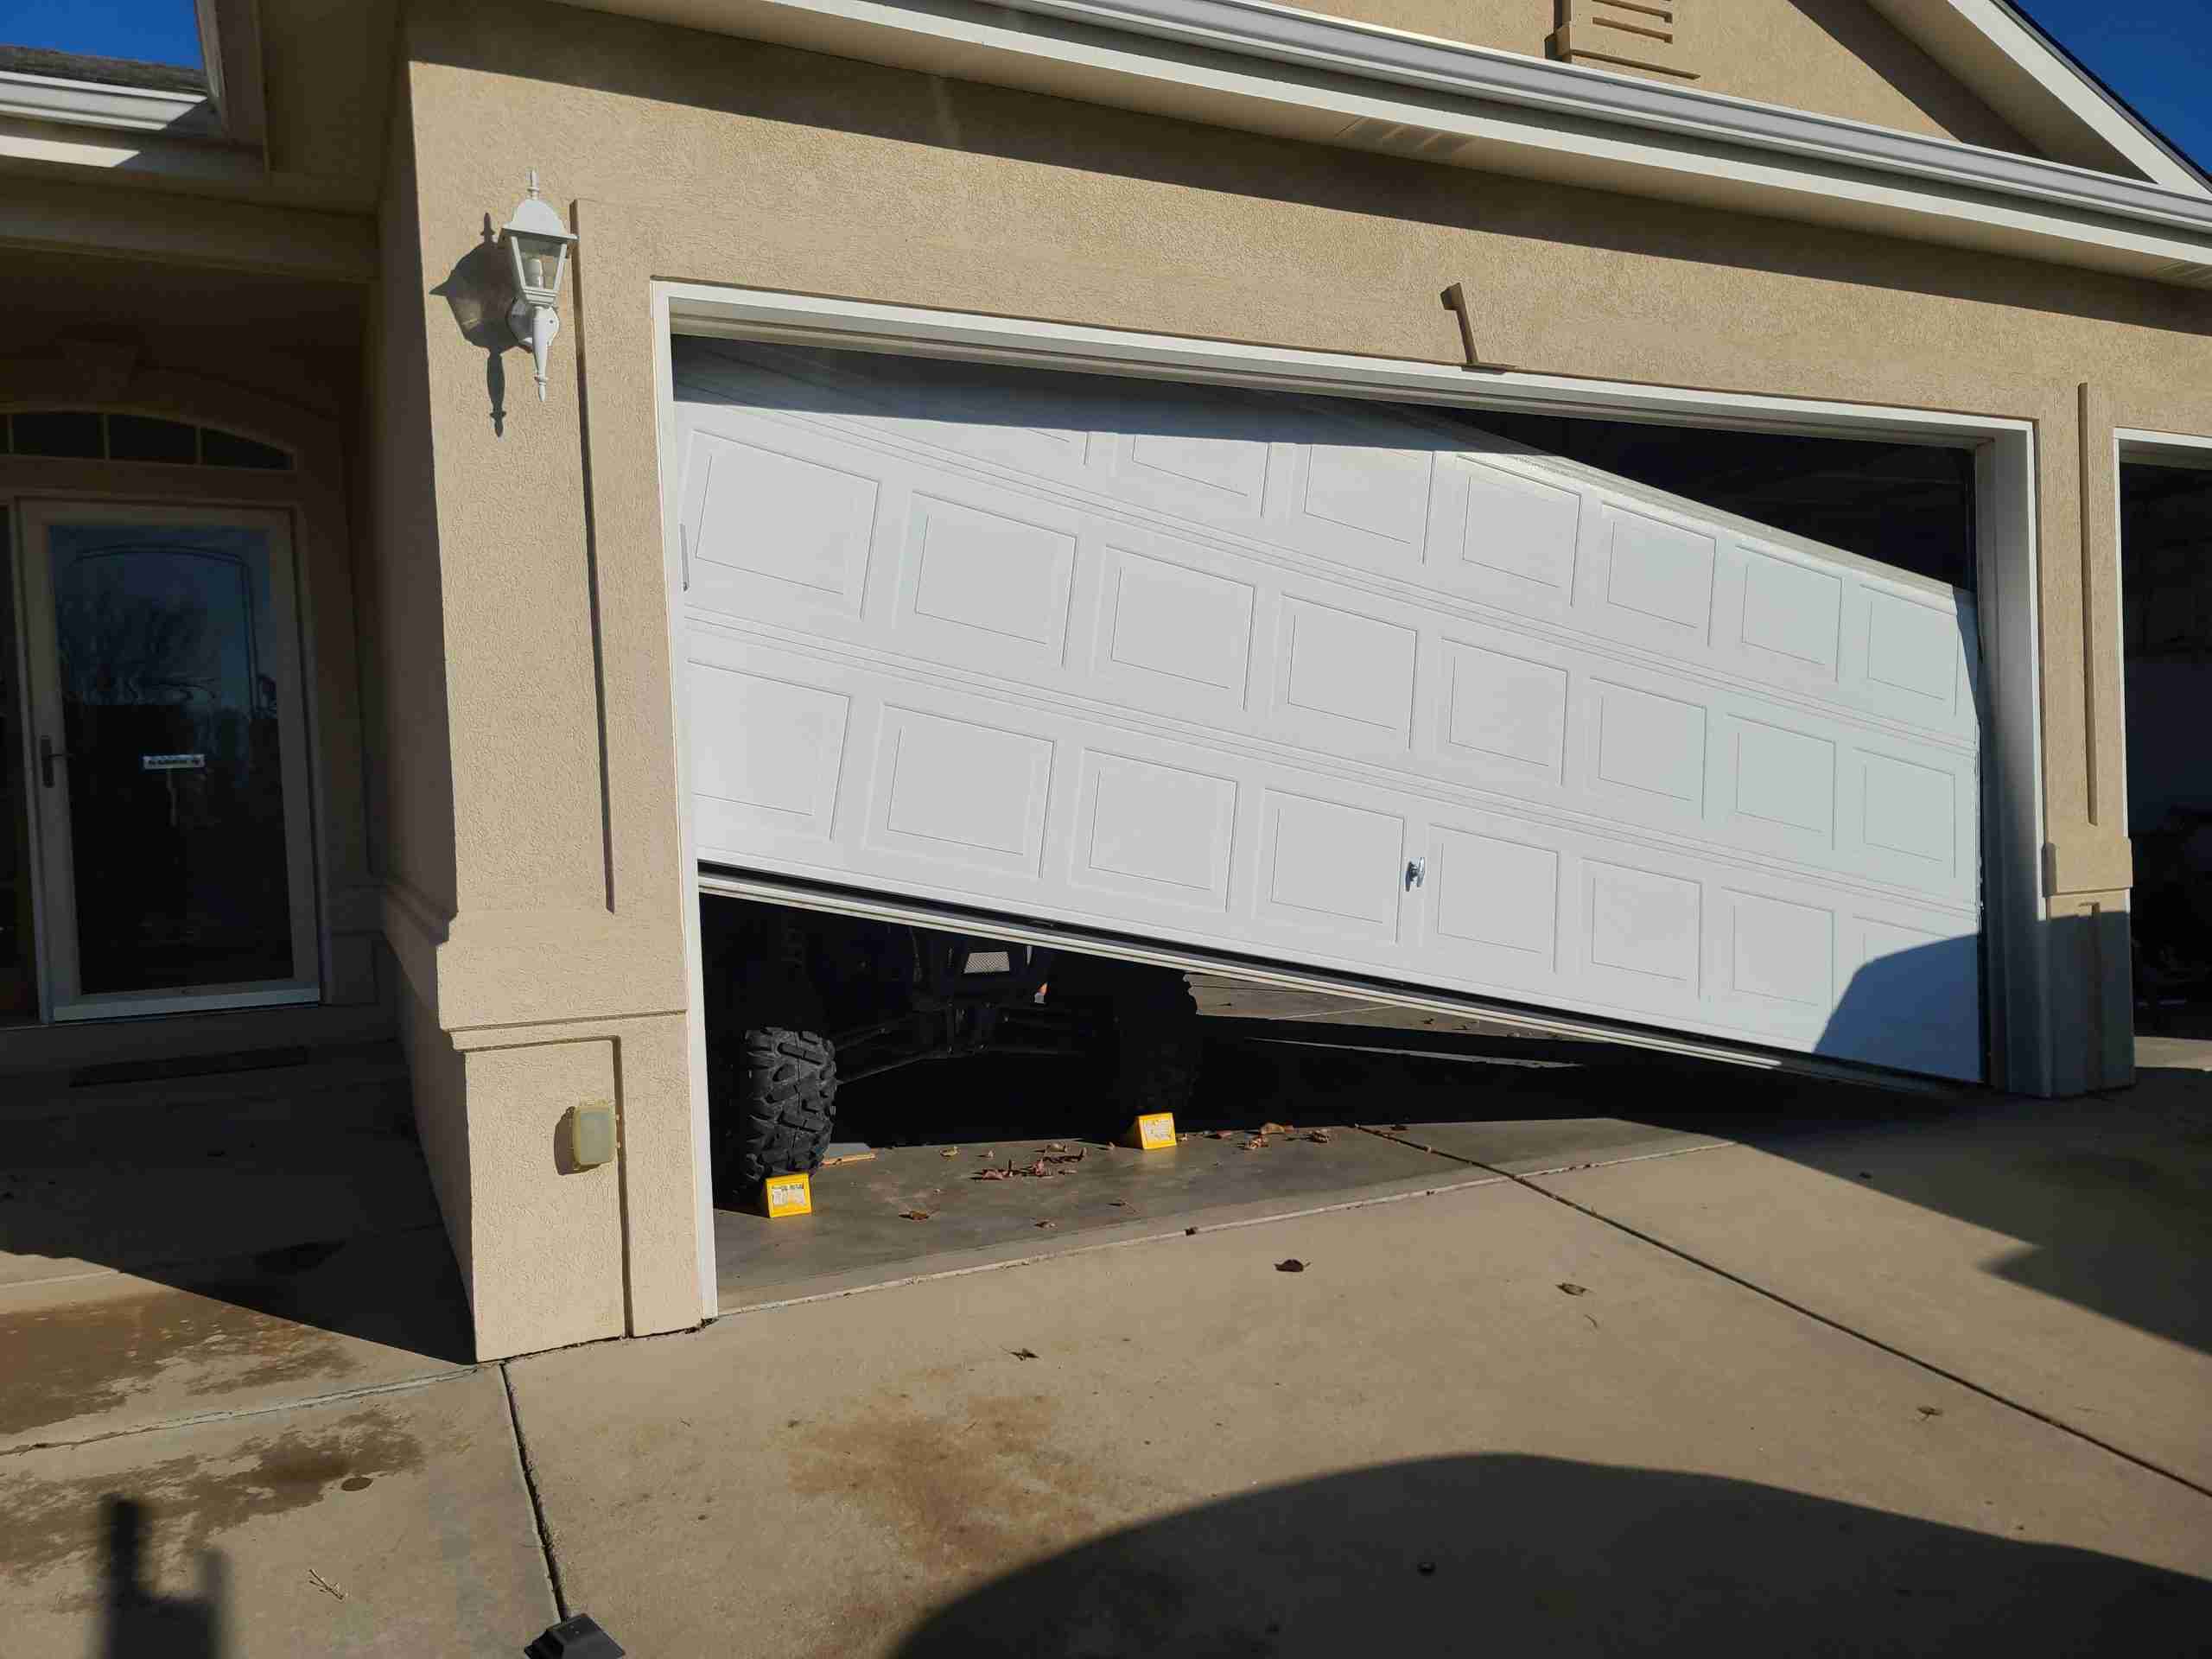
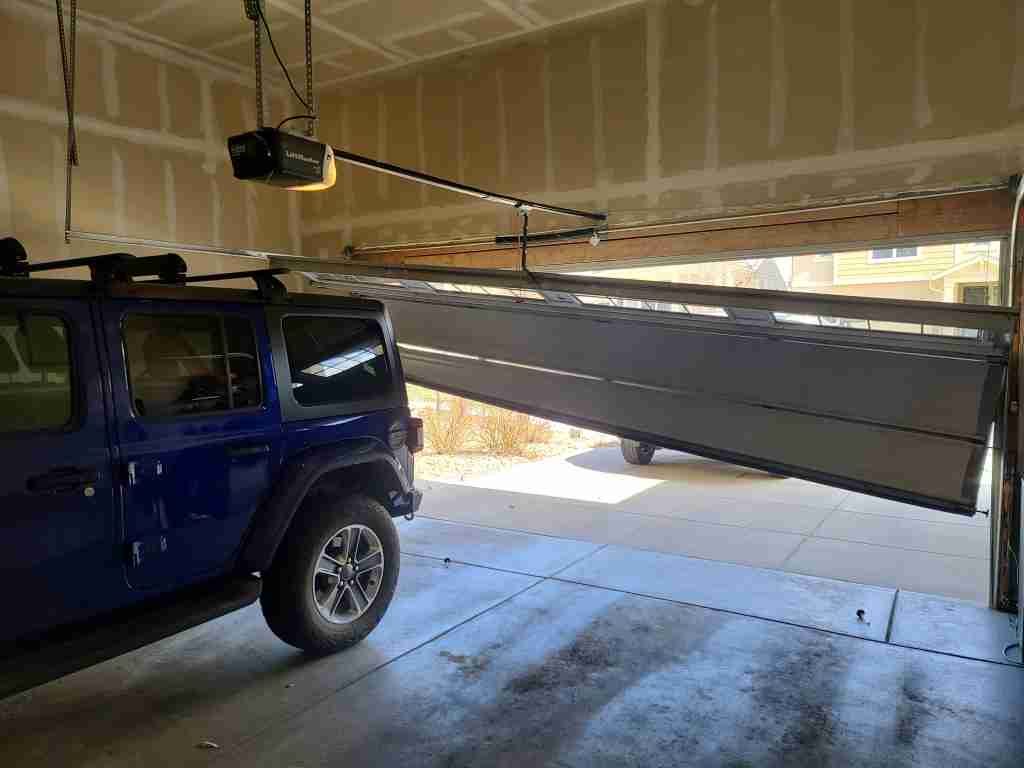
- Door is heavy or drops back down when you let go: the springs are likely worn or one has broken. That’s a separate issue from the opener.
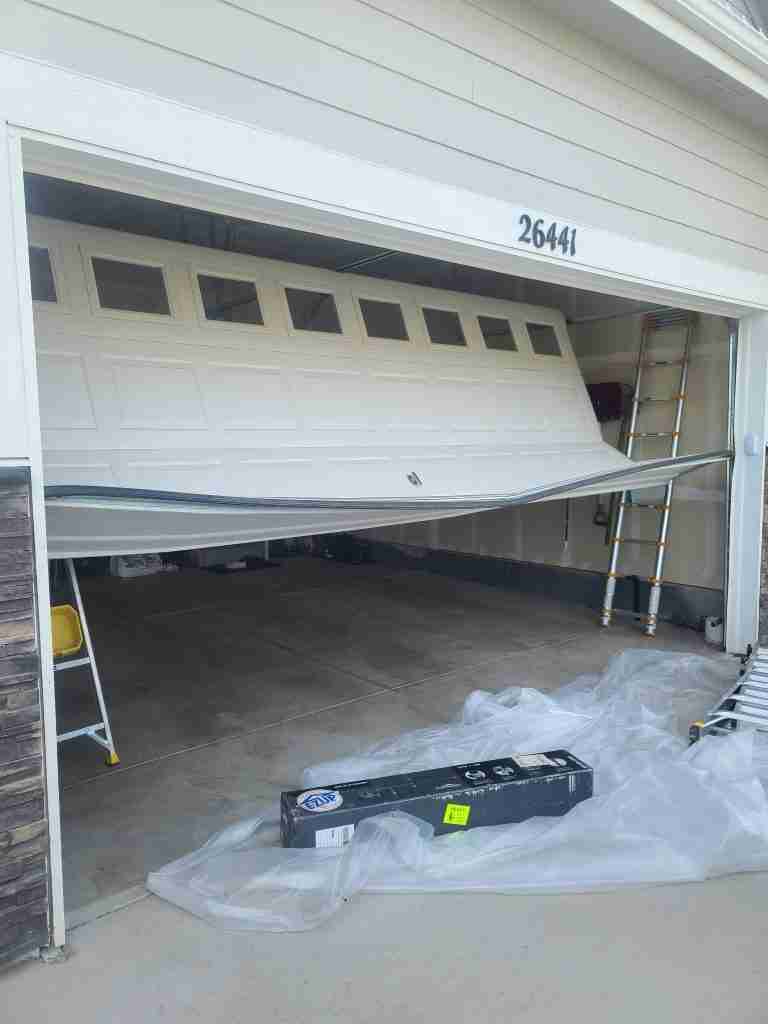
- Door moves but drags or catches on one side: the tracks may be dirty, dented, or the door may have come off track.
If the door lifts fine by hand but the opener won’t move it, the problem is in the opener system. If the door is hard to lift, fix the springs first before worrying about the opener. The garage door spring repair page has more on what’s involved when a spring goes.
Common Garage Door Opener Problems at a Glance
| Symptom | Most Likely Cause | DIY or Pro? |
|---|---|---|
| No response from remote or button | Power issue or dead batteries | DIY |
| Remote works, wall button doesn't | Faulty wiring or bad wall button | DIY |
| Door won't close, sensors blinking | Misaligned or dirty safety sensors | DIY |
| Door reverses before closing | Sensor obstruction or travel limit | DIY |
| Motor hums but door doesn't move | Worn internal gear or broken drive | Pro |
| Motor unit completely dead | Blown fuse, failed circuit board | Pro |
| Door opens slowly or makes loud noise | Worn motor, needs lubrication, or worn gears | DIY / Pro |
| Door goes up fine but won't come down | Travel limit setting or sensor issue | DIY |
| Remote stopped working after humid weather | Moisture damage to receiver or board | Pro |
When DIY Isn't the Right Call
Most of the steps above are safe for homeowners to work through. But some problems need a technician.
Call a professional if:
- The motor unit is completely dead and you’ve already confirmed the power supply is fine
- You hear grinding noises or smell something burning from the motor housing
- The internal circuit board needs replacing
- The wiring inside the motor unit looks damaged or scorched
- You’ve adjusted sensors and travel limits several times and nothing has changed
- The opener is over 10 years old and keeps breaking down
An older opener that needs repairs regularly will often cost more to keep fixing than to replace. Newer belt-drive models are much quieter than older chain-drive units, and Wi-Fi openers let you open and check your garage from your phone.
A Note on Opener Brands
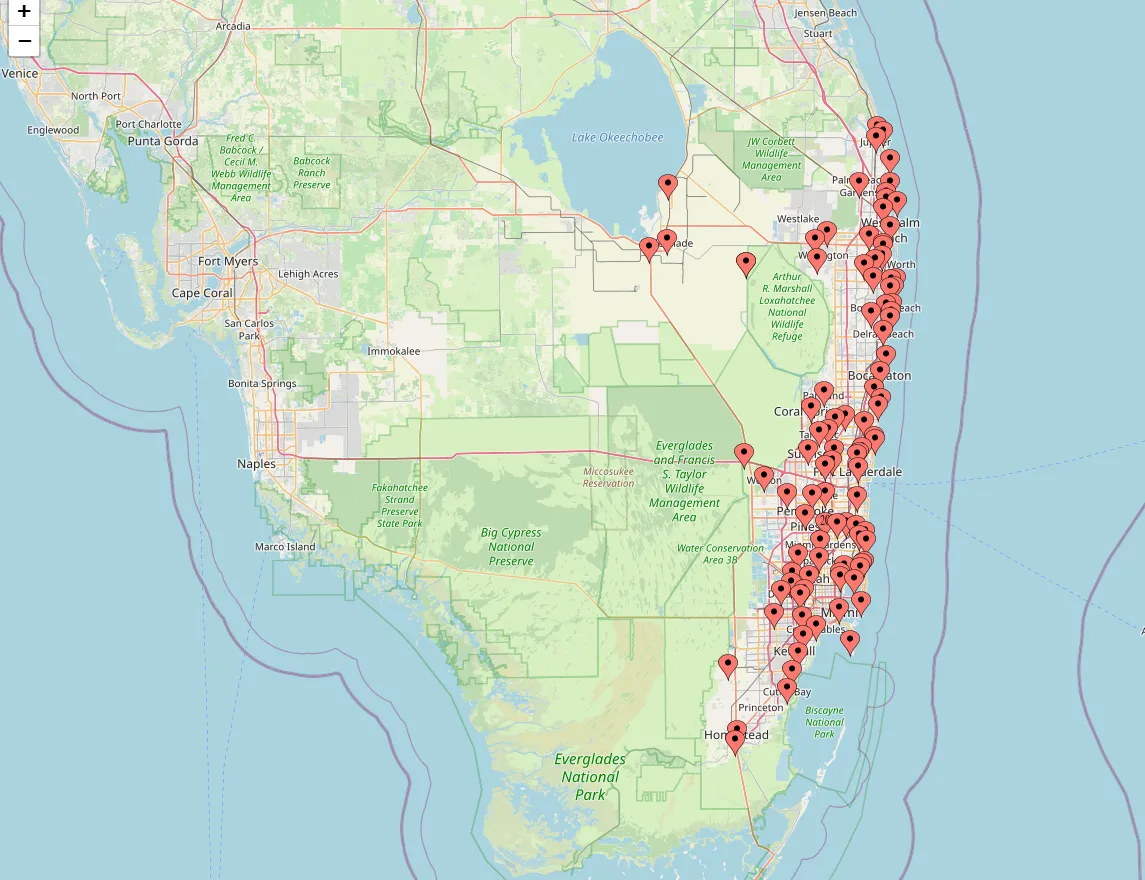
Most of the troubleshooting steps in this guide apply to all brands. Some details vary by manufacturer though. Ariel Garage Door Services stocks parts for LiftMaster, Chamberlain, Genie, and Craftsman openers, which covers most of what you’ll find in homes across Broward, Miami-Dade, and Palm Beach counties.
If you’re not sure what brand or model you have, look at the back or side of the motor unit on the ceiling. There’s usually a label there with the model number. That number makes it easier to find the right parts and the right settings.
How Often Should You Service Your Opener?
Keeping up with basic maintenance stops most problems before they happen.
- Every 3 months: Test the auto-reverse by laying a piece of wood flat on the ground in the door’s path. The door should stop and reverse when it touches it. Also test the remote and wall button, and have a quick look at the sensors.
- Every 6 months: Lubricate the chain or belt with a silicone-based spray lubricant. Don’t use WD-40 on these parts. Also check for any loose bolts or hardware along the rail.
- Every 12 months: Replace remote batteries even if they seem okay. Check the sensor wiring and look over the motor unit for anything that looks worn or out of place.
- Every 2 years: If the opener is more than 5 years old, have a technician look it over properly.
What It Costs: A Rough Guide
Repair costs vary depending on what’s wrong. Here’s a general idea:
| Repair Type | Estimated Cost Range |
|---|---|
| Remote battery replacement | $5 - $15 |
| Remote reprogramming | Free (DIY) to $50 (service call) |
| Safety sensor replacement | $50 - $100 |
| Wall button replacement | $20 - $50 |
| Internal circuit board replacement | $100 - $200+ |
| Gear replacement inside motor unit | $80 - $150 |
| Full motor unit replacement | $150 - $400+ |
| New opener installation | $200 - $500+ depending on type |
These are rough figures. The actual cost depends on the brand, the model, and whether a service call fee applies. Always get a quote before any work starts.
Don't Let a Small Problem Sit
A minor opener issue that gets ignored usually grows into a bigger one. A sensor that keeps blinking but “still sort of works” can end up causing the door to close on a car, a bike, or a pet. A loose chain left alone puts steady strain on the motor. Small problems are almost always cheaper and quicker to fix early.
If you’ve worked through the steps in this guide and still can’t figure out what’s wrong, a professional can usually find it quickly. Some problems, especially inside the motor unit or in the wiring, aren’t visible from the outside. A technician who works on openers every day will spot things that aren’t obvious to someone seeing it for the first time.
Still Stuck? Here's Where to Get Help in South Florida
Ariel Garage Door Services 2950 N 28th Terrace, Suite E-22, Hollywood, FL 33020 Phone: (561) 677-2840 Email: info@arielgaragedoors.com Hours: Sunday to Friday, 8:00am to 6:00pm
Book a service visit online or call for a free on-site estimate. Same-day service is available for most repairs.